- Home
- Compare Systems
- Cheap Systems
- Free Quotes
- DIY Systems
- Hardwired Systems
- Wireless Systems
- Smoke Detectors
- Medical Alarms
- Alarm Monitoring
- Cameras & Video
- Ademco
- ADT Security
- Brinks Security
- Broadview
- DSC Security
- FBI Alarms
- GE Security
- Honeywell
- Link Interactive
- Monitronics
- Moose
- Napco
- Protection 1
- Radionics
- Simplisafe
- Alarm Manuals
- Alarm System Parts
- Alarm Tools
- Troubleshooting
- FAQ
- Glossary
- Sitemap
- About Me
- Contact Me
Ring Video Doorbell
Answer Your Front Door from Anywhere!
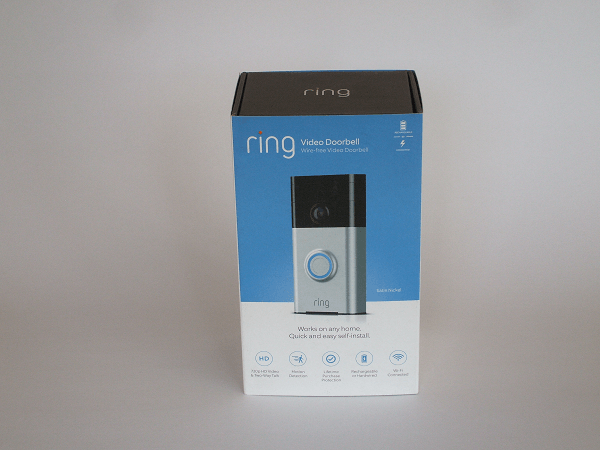
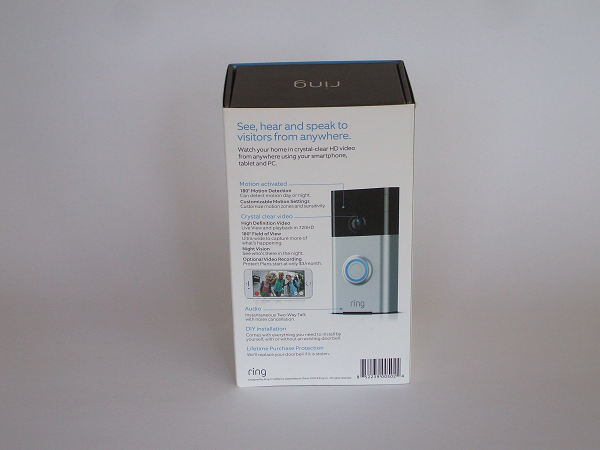
The Ring Video Doorbell is an easy way to monitor your front door or other entry point. It consists of a wireless door chime and camera combination, and can be triggered by pressing the button on the faceplate and/or by its built-in motion sensing technology.
How Ring Works
The Ring doorbell is typically installed at the front door, and connects wirelessly to your home Wi-Fi network. A visitor pressing the button on the Ring Video Doorbell activates an alert on your iPhone, Android, or tablet, whether you’re at home or away. You can answer the call with a tap on your device screen, which brings up a live video image of the caller. Another screen tap opens a two-way voice connection.
The Ring Wi-Fi enabled video doorbell is powered either by its internal rechargeable battery, or from your existing doorbell wiring. Connecting to existing wiring for power will reduce or eliminate having to recharge the battery, which is one of my favorite features of this unit.
When replacing an existing doorbell button, the Ring unit will still trigger your existing standard or musical chime unit inside the house.
Without connecting to the existing wiring, you’ll need to recharge the unit about every 6 to 12 months, according to Ring.com.
The Ring doorbell is available in four models: The original Ring Video Doorbell, (or “RVD”), which costs about $100 from various retailers. The Ring Video Doorbell 2, the Ring Video Doorbell Pro, and the Ring Video Doorbell Elite add more features at a higher price.
This page covers the installation and setup of the basic Ring unit, which I used to replace the old doorbell button at the front door of my own house.
Using the RVD to answer the door and view live video requires no monthly fee. If you want to watch or download recorded video, a subscription is required.
Ring offers two plans:
The Basic Plan costs $3/month, or $30/year; the Plus Plan costs $10/month or $100/year, and includes enhanced functions.
More details on that later; right now, let’s see how to set up and install the unit.
Ring Video Doorbell Setup
If you’re fairly tech-savvy, you can skip reading the description below. Just download the Ring Always Home App, and follow the on-screen guide to set up your video doorbell. If you prefer to see the details in advance, here’s a summary of the steps you’ll need to take during setup:
- Download the “Ring Always Home” App onto your iPhone, Android, or other device.
- Create an account. The Ring App will ask you for the following:
- Your name, (which is for account use only, you remain anonymous)
- Street address, in order to send you safety alerts about activity in your neighborhood.
- Your preferred email address to receive notifications about low battery or other “health” conditions of your Ring Video Doorbell.
- Create a password, to keep your Ring account secure.
A “Welcome” screen will appear. Now, you can set up your Ring device:
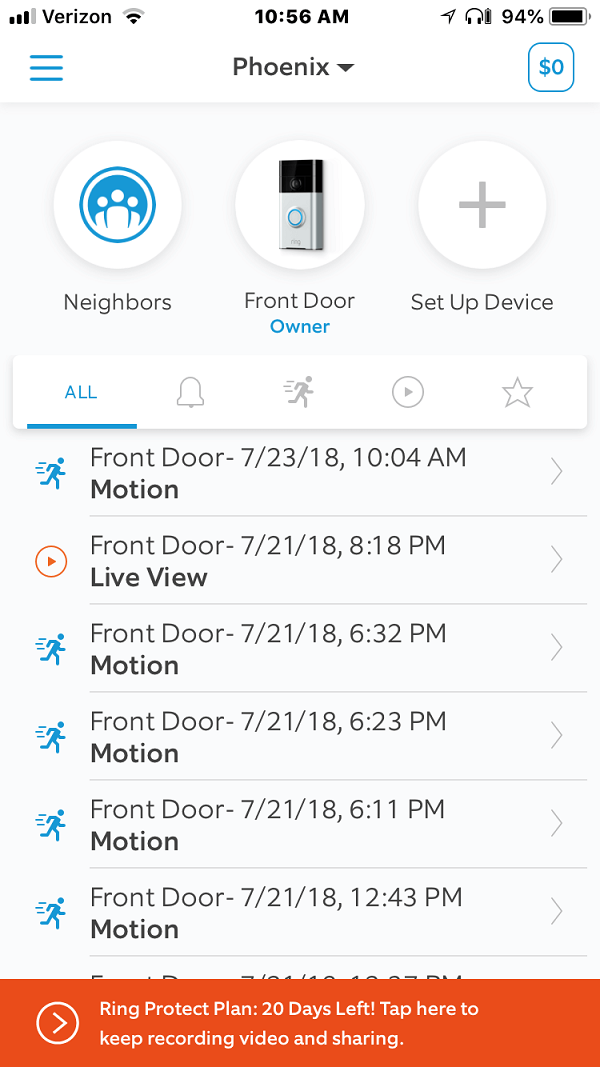
Tap on "Set up Device", then select “Doorbells” from the list of RVD devices.
Choose the Ring device you’re going to install: The RVD, the RVD 2, the rvd Pro, or the RVD Elite
Select your location; This is just the address you entered earlier.
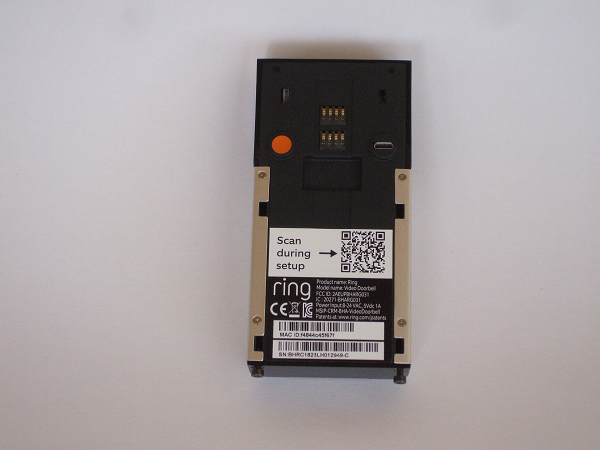
When prompted, scan the QR code from the “Setup Steps” sheet, or from the back of the Ring unit itself.
Choose a name for your Ring device. I selected “Front Door”, oddly enough... You can also create any name you’d like by selecting “Custom”.
Press, then release the orange button on the back of the Ring doorbell. On your phone or device, tap “Join” when the Wi-Fi network prompt appears.
Choose your home wi-fi network name from. The list that appears, and enter the Wi-Fi password for your network.
Setup is complete!
As soon as the Ring Video Doorbell connects to the Internet, it will update its internal software. During this process, the lighted ring around the button on the front of the unit will flash. When the button light stops flashing, the software update is complete.
Next, you’ll be prompted to enter additional email addresses on your account. Enter an email address for each person who’ll be viewing or answering the Ring doorbell. These people will also need to install the Ring App onto their phone, in order to interact with the doorbell camera.
The next screen will prompt you to either watch the Installation video now, or choose to view it later. I chose “Later”, and was then prompted to set up motion detector zones. I chose “Later”, as explained here:
I recommend waiting to set up motion detector zones until after you’ve installed the unit. Otherwise, you’ll constantly be triggering needless alerts during the installation process.
Also, you won’t know exactly what the camera’s field of view will be until the unit is in its final mounting position, so you won’t know where the zones are located.
You can easily complete the motion setup after installation by tapping on the Ring Video Doorbell’s icon in the app, and choosing the “Motion Settings” option.
When you’re ready, refer to the “Motion Detector Setup” section below.
Before testing the Ring Video Doorbell, go to the home screen of the app, and tap on your Ring device icon. There, enable "Ring Alerts" and/or "Motion Alerts", so you'll get the notifications you want about each event.
Testing the Ring Doorbell
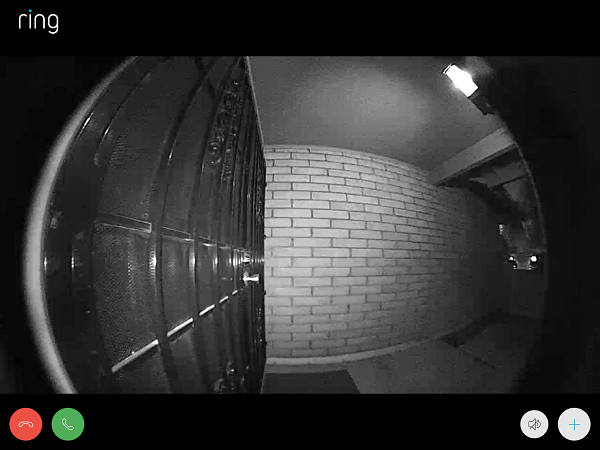
Press the button on the front of the Ring Video Doorbell. You will hear a door chime tone from the Ring unit, as well as from your smartphone or other device. (This tone can be changed from within the app.) Tap the banner notification that appears on your phone screen to accept the call, and display a live view from the door camera.
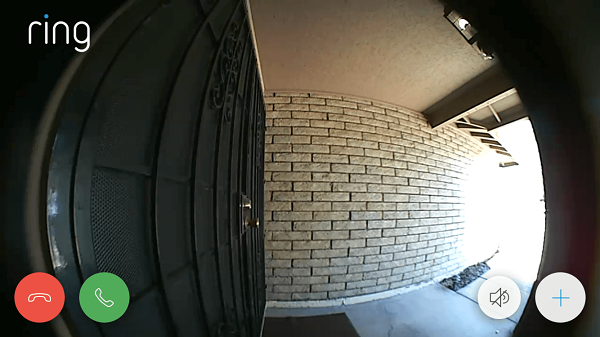
Tap on the green off-hook icon on your phone to open a two-way conversation with the doorphone. You should be able to speak back and forth between your smartphone and the Ring doorphone. When you’re done with the test call, tap the red on-hook icon to hang up.
If you miss an alert, or if you want to view live video any time without a button press, here’s how:
From the home screen of the app, tap on your RVD device icon, then tap on the “Live View” button. The first time you do this, you’ll be prompted choose your Live View settings. Afterward, you’ll see the live view from the camera.
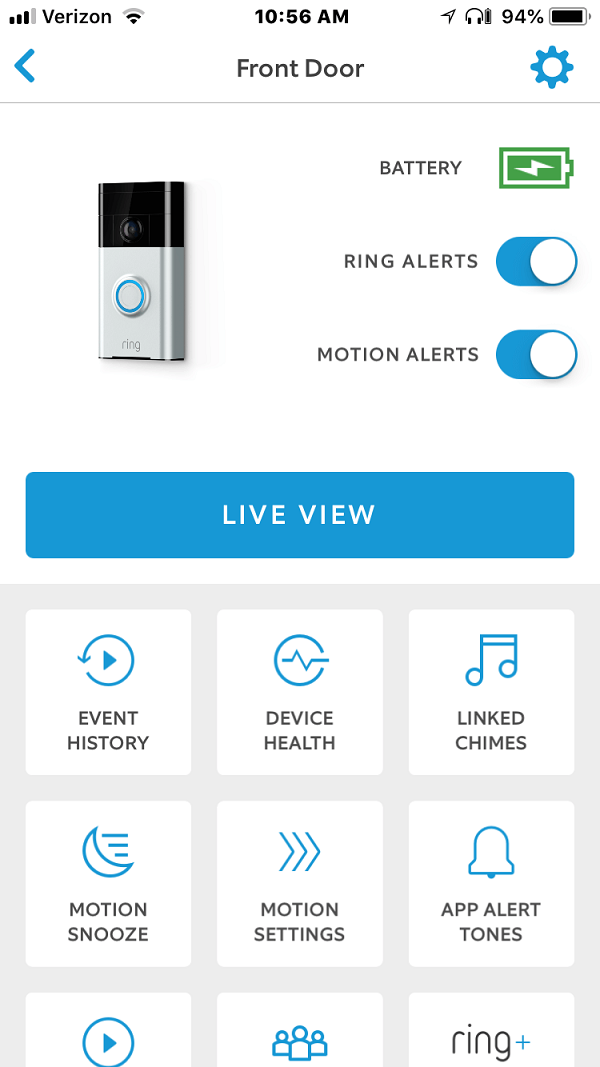
If you can’t establish a connection, trace back through the previous steps to be sure you’ve completed the setup correctly.
If you can communicate successfully with the Ring videon unit, it’s time to install it!
Ring Video Doorbell Installation
The Ring Video Doorbell is designed to replace an existing doorbell button, and will continue to trigger the old door standard chime, or a musical door chime.
Using the existing doorbell connections also means that the Ring unit will be powered by that wiring from the original doorbell transformer. This will reduce or eliminate having to manually recharge the Ring internal battery, which is one of my favorite features.
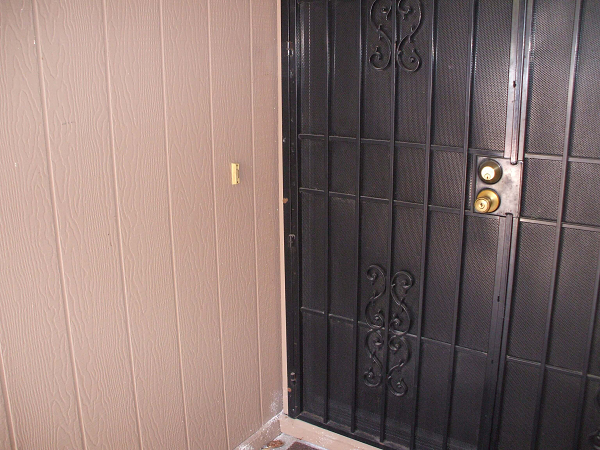
Many new Ring customers ask if they should move the unit (and wiring) up higher, in order to get a better camera view of visitors’ faces. Ring.com specifies that a mounting height of 4-feet is ideal, due to the wide-angle lens of the doorphone.
I found this to be accurate: I installed the Ring unit at my old doorbell button height of about 3-feet, 8-inches, and the camera picks up faces of adults with no problem.
For this Ring Video Doorbell review, I’m replacing an existing doorbell button with a Ring doorphone. If you decide to go this route, you’ll be connecting the old doorbell wiring to the Ring baseplate. The Ring unit will begin charging as soon as you install it onto the baseplate.
If you’re installing a Ring Video Doorbell to a new location without an existing doorbell button, ignore the wiring connection instructions. Instead, plug your Ring unit into any charger with a micro-USB connector, and let it charge while you begin the installation. The front lights will spin as the unit charges; when they turn solid blue, the unit is fully charged.
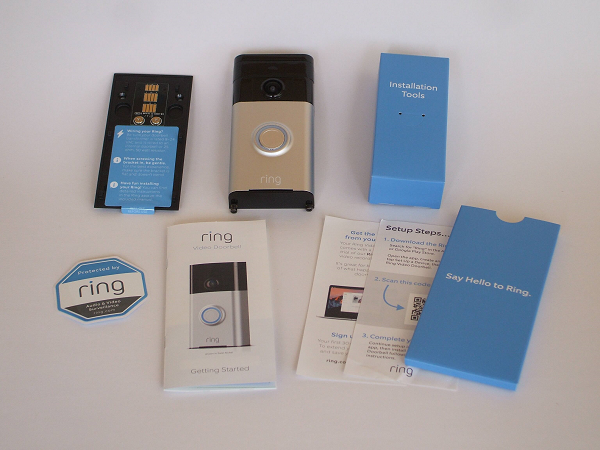
For safety, turn off the circuit breaker to the doorbell transformer. If the breaker isn’t marked in your breaker panel, have an assistant repeatedly press the doorbell button while you flip beakers on and off at the panel. When the door chime stops ringing, you’ve found the correct circuit breaker.
Note:
The voltage from a doorbell transformer is only about 16 volts AC. This is not enough to injure you directly, but the mild shock could cause you to recoil quickly, and possibly bang into something.
Remove the old doorbell button by taking out the screws. Pull out a few inches of the doorbell wiring, and loosen the screws to release them from the button.
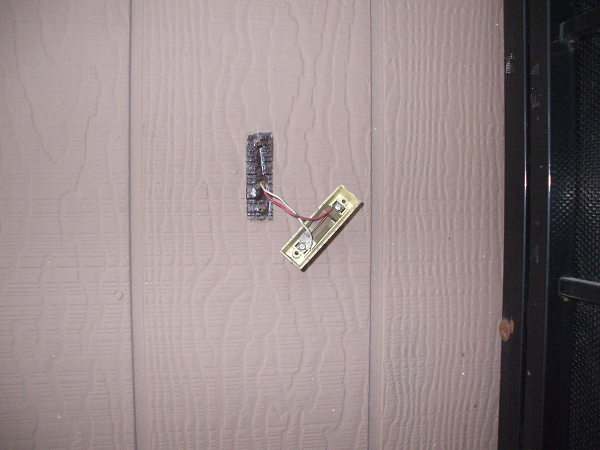
If you don’t plan on using the old doorbell wiring to power the Ring VD, clip off the bare copper ends of the wires, or insulate them from each other with electrical tape. Then, stuff them back into the wall cavity.
If you intend to wire the RVD to the existing doorbell wires, leave the wires exposed.
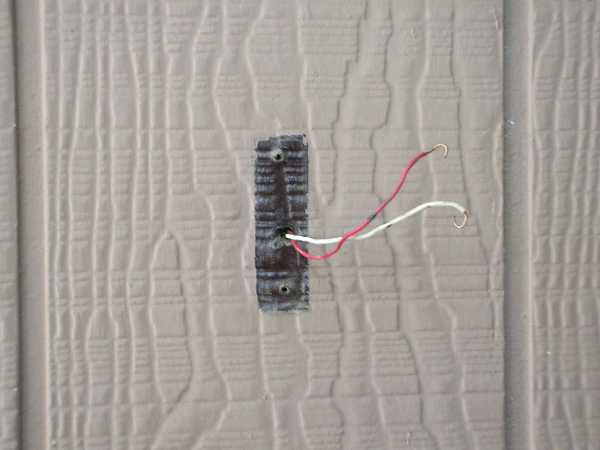
Position the Ring Video Doorbell baseplate where you’d like it, and mark the 4 mounting hole locations with a pencil or pen.
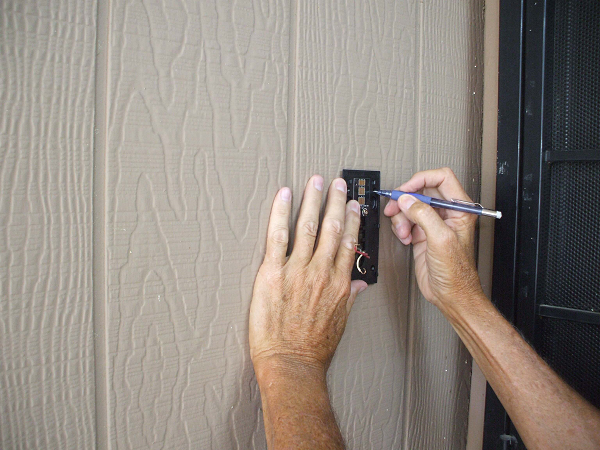
For wood walls, fasten the base plate with the supplied wood screws For block or stucco walls, drill holes with the supplied masonry bit, insert plastic anchors, and fasten the base plate with screws.
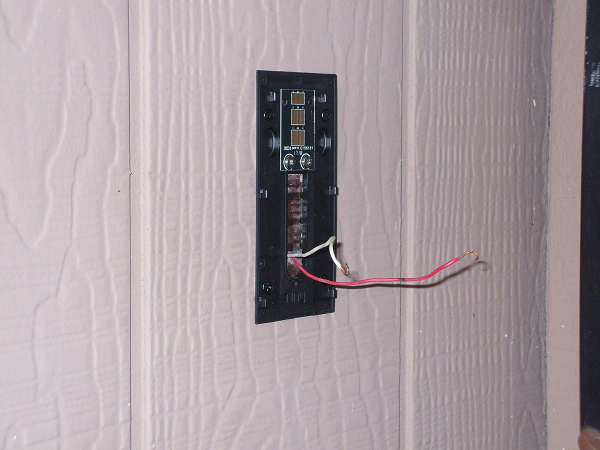
For wired installations, connect the old doorbell wires to the terminals on the baseplate. It doesn’t matter which wire goes to which screw. If you have a musical door chime, connect the included diode across the screw terminals, as described in the instructions.
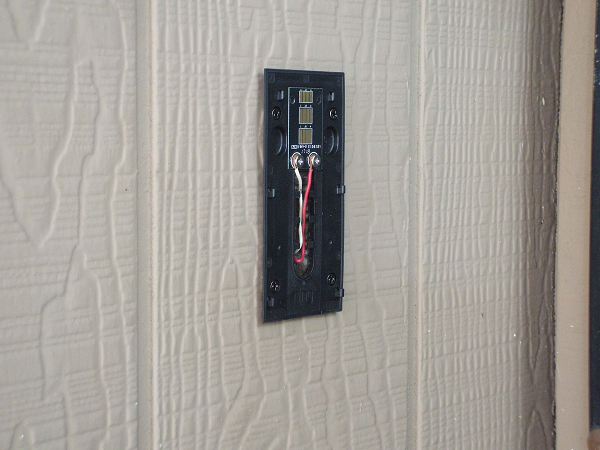
Place the RVD onto the baseplate, aligning it with the baseplate hooks until it sits almost flush with the plate. Then, press the unit against the plate firmly, and slide it down until it hooks into place.
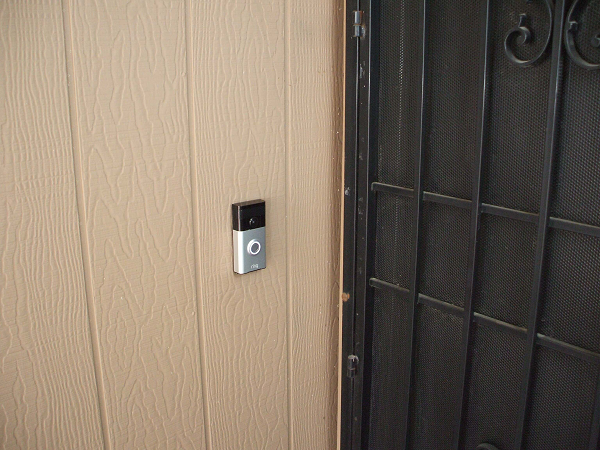
Press the Ring button, answer the alert on your phone, and check the field of view and the sound quality.
Congratulations, you’re done installing the unit!!
Motion Detection Setup
The Ring VD comes out of the box with motion detection turned off. To activate motion detection, follow these steps:
From the Ring Always Home App “Home” screen, tap on your doorbell icon. This will open a menu with several available functions. Tap on the “Motion Settings” button. You'll see a blue overlay on your door camera image, similar to this:
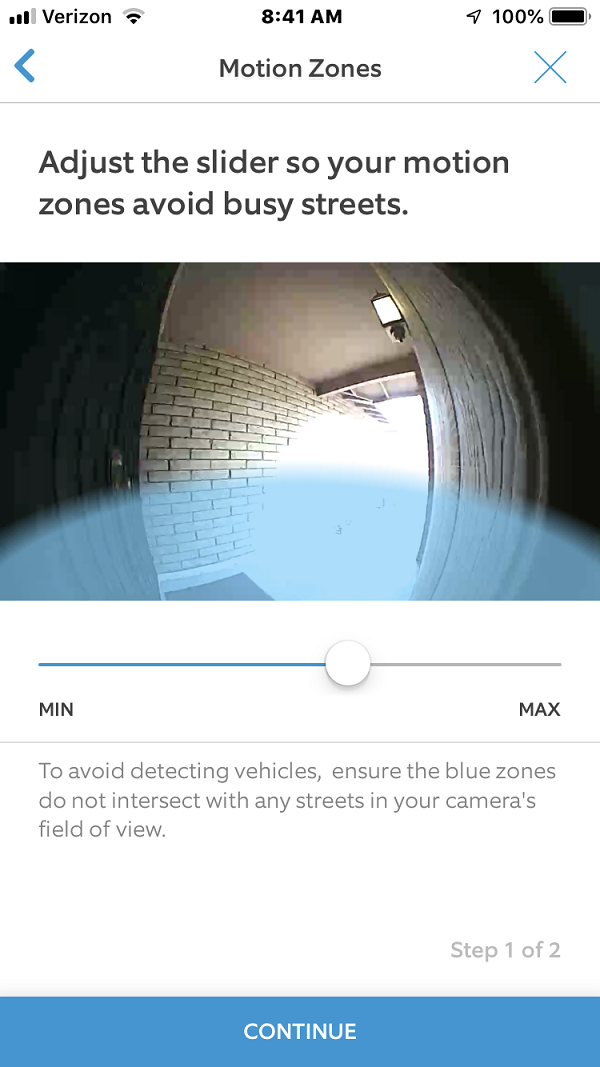
To activate motion zones, tap, then drag the slider left or right to adjust the detection range to match area you want the Ring unit to detect movement. When you have the range set where you'd like it, tap "Continue".
Now, you'll see three zones within the activated range area. You can toggle any of these individual zones on or off by tapping on them. This allows you to “mask off” areas where you don’t want motion to cause an alert. This could include a sidewalk or street, a tree that sways in the wind, or any other motion source that would cause nuisance triggers.
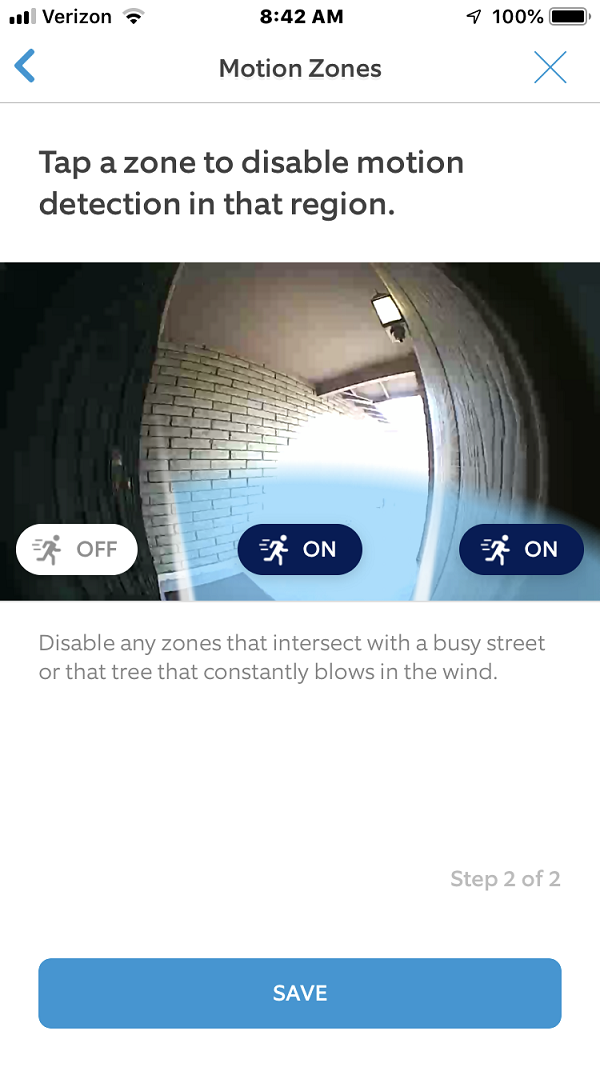
In my case, I masked off the area covering the front door itself, since I didn’t want the unit to trigger if I simply opened the front door for ventilation on a nice day.
When the motion zones are set to your liking, tap on the “Save” button.
Walk-test the area, to make sure the unit is detecting motion where you intended. If it’s triggering where it shouldn’t, or missing motion that it should pick up, just go back into Motion Settings, make adjustments, and save the settings again.
Note that after the Ring is triggered by motion, it records activity for about 25-30 seconds. It won’t trigger another alert due to motion until that recording time is finished, so take your time when testing the motion detection range.
Saving Your Recorded Video
Ring VDBs include 30 days of free basic subscription, during which time Ring will save your video for later viewing. To continue to have access to saved video, you’ll need to pay for a subscription. Two plans are available:
The Basic Plan costs $3/month, or $30/year, and includes connection to one Ring camera (with added charge for additional cameras), no alarm monitoring, and a one-year limited warranty.
The Plus Plan costs $10/month, or $100/year, and includes 24/7 professional monitoring (with a Ring Alarm System, sold separately), an unlimited number of cameras, and an extended warranty.
Adding an Optional Angle Mount Adapter
My front entryway is narrow, and the doorbell location is along one of the walls. This means the RVD is facing across the doorway, not toward approaching visitors.
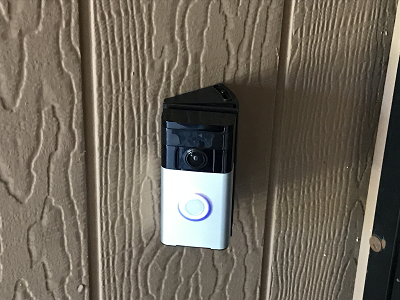
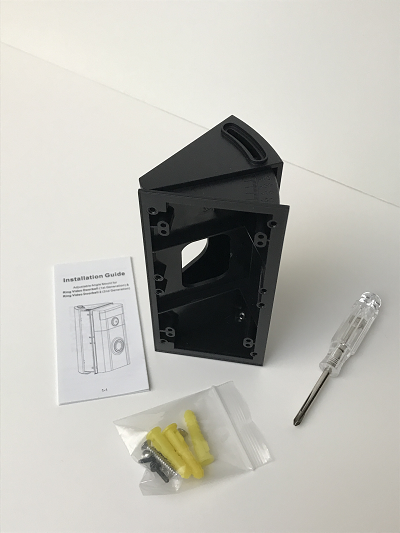
If you have a similar situation, you can do what I did and add an angle mount bracket. The bracket attaches to the wall, and the Ring Doorbell then mounts to the bracket. The RVD unit can then be pivoted to more directly face approaching visitors.
The angle mount shown here is for Ring Video Doorbell 1st & 2nd generation units. There is another version for the Ring Video Doorbell Pro.
Ring Wi-Fi Video Doorbell Conclusions
Ease of Installation
The setup and installation of the Ring Video Doorbell is quick and easy. If you are handy with basic tools and have a home wi-fi network, you can handle this project.
It took me about 2 hours to install the Ring unit, but most of that time was spent taking photos and screenshots for this article. The actual setup and installation of the Ring unit itself probably took 30 minutes or so, at most.
Cost of the Ring Equipment Plans
The monthly or annual fee for the Basic Plan required to save recorded video is minimal, but it is an ongoing cost nonetheless. And of course, going with the Plus Plan costs even more.
While you aren’t required to purchase any plan, you lose a lot of functionality without one. With no paid plan, you will still receive alerts via smartphone and/or email, and will be able to view live video from your RVD.
You won’t be able to save, review, or download past video, so
you won’t be able to see activity from alerts you missed or
activity that triggered the motion detection.
Without the ability to download, you can’t provide police
with your video if any criminal activity occurs.
For most people, I would guess that viewing recorded video is
one of the biggest reasons for purchasing a video doorbell.
Ring as a “Stepping Stone” System
After installing and using the Ring system for a while, you’ll get a feel for what it’s like to have the security of a camera, and can better decide how much you value knowing you have recorded video of any activity.
One way to keep the doorbell function, but also eliminate the ongoing subscription cost, is to add a basic DVR (Digital Video Recorder) and camera system. DVR’s record and store your video, and you can access and download it anytime you want, for free. Recorded video can also be backed up to an external hard drive or Cloud storage, so you won’t lose your video even if a thief steals the DVR unit itself.
Many of these systems are sold as kits that include a DVR, 4 cameras, and all needed cables and power supplies. Prices for complete systems can be as low as $100-200. Obviously, this is another expense. But, it’s a one-time expense, and you may decide that the ongoing cost of the Ring Plan fee outweighs the cost of the DVR system.
The Ring doorbell and DVR-based camera systems truly do compliment each other. The Ring unit gives the motion detection and button-press alerts that the DVR systems can’t offer; The DVR provides continuous video recording and full playback functions at zero recurring cost.
Who Are the Ideal Customers for Ring Video Doorphones?
Entry-level Camera Users
If you have never owned security cameras, you may find Ring to be an excellent way to get started with video security. The reasonable price-point and do-it-yourself installation make it easy to add the security of a video doorbell.
Owners of Complete Video Surveillance Systems
Oddly enough, many full-blown multi-camera systems do not include any doorbell functionality. While there is likely a camera installed at the front door, it passively (and silently) records video all the time, and doesn’t include a doorbell. There will be no alert to you when a visitor approaches the front door.
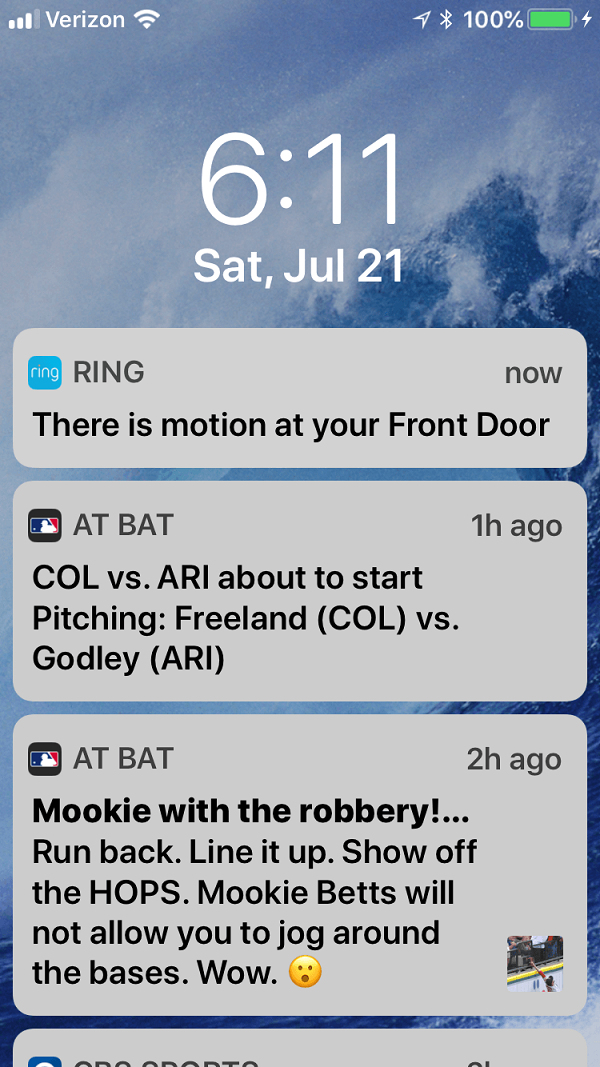 Screenshot of motion alert sent to smartphone
The Ring devices issue an alert as soon as motion is detected, and/or when the doorbell button is pressed. This notification of a visitor, along with the ability to interact with them without opening the door, can be a welcome enhancement of even the largest video surveillance systems.
Any way you choose to go, you have more camera, video recording, and alerting choices now than ever before, and I hope this article helps you find the solution you’re looking for.
Learn more about DVR camera systems.
Note: Ring is constantly improving and adding to its products, and pricing, promos, and special offers can change at any time. Please be sure to check current features and pricing with your supplier before ordering.
Related Articles:
DVR Camera Systems
Wireless Security Camera Kit
Smoke Detector Spy Camera
Are you wondering how much a video surveillance system would cost?
A quick way to find out is by requesting a few Free Video Surveillance Systems Quotes from BuyerZone.com. Just answer a few easy questions below, and you'll receive quotes from video security companies in your area.
There is no cost or obligation on your part. Just choose the options you would like in a potential system (number of cameras, indoor and/or outdoor, etc.) and your quotes will be sent to you via email.
To get started, here's the first question:
Return to Home Security Systems Answers from Ring Video Doorbell
Return to Home Security Camera Systems from Ring Video Doorbell
Note: Feel free to print any of the articles on this site for personal, non-commercial use. Just look for this button:
If you found this website especially helpful, you might want to consider making a small donation. Since 2011, AzAlarmGuy has been providing free help and advice on home security systems to all of those in need.
Your gift, in any amount, will help me keep this website a free resource for anyone needing help with alarm system issues or questions.
Disclosure
I receive affiliate commissions from some of the companies and products I discuss. These commissions don't change the price that you pay.
Rest assured that this compensation does not influence my recommendations. I only endorse products and services that I truly believe to be an honest value for you, as a visitor to my site.
For more details, see my full disclaimer.
